

3D printing has made cosplay props more accessible than ever. With the right STL file and a bit of preparation you can print a mask or helmet that fits well, looks great in photos and survives a full convention day. This step-by-step guide covers sizing, printing, finishing, painting and comfort.
1. Measure your head and scale the model
Measure your head circumference and the distance from your chin to the top of your head. Import the model into your slicer and scale it to match, leaving 5–10 mm extra for foam padding. If you are unsure, print a thin ring of the helmet opening first: it takes minutes and saves hours of wasted filament.
2. Split large helmets into parts
Most full helmets are bigger than a standard print bed. Split them into parts in your slicer (cut tool) or a free program like Meshmixer, and add small alignment pins or keys so the pieces line up perfectly when you glue them. Many of our helmet files already come pre-split.
3. Choose the right filament
PLA is easy to print, sand and paint, and is the best choice for most masks and helmets. PETG is tougher and handles heat better (useful for outdoor events or a hot car). Lightweight PLA can make large helmets much more comfortable to wear.
4. Orientation, supports and settings
- Print masks face-up or slightly tilted so the visible surfaces stay smooth.
- Use tree or organic supports to reduce scarring on curved surfaces.
- 0.2 mm layers with 3 walls and 10–15% infill give a strong, light print.
- Use a brim on tall parts to stop them lifting or wobbling.
5. Sanding, filling and priming
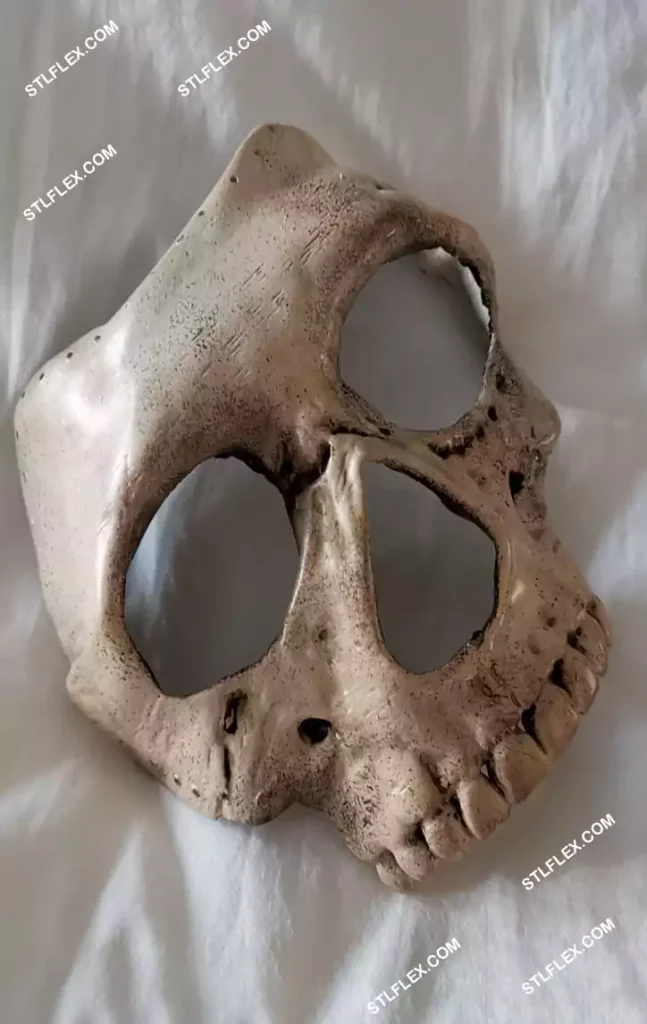
Remove supports, then sand with 120 grit followed by 220 grit. Spray two or three coats of filler primer, sanding lightly between coats, to hide layer lines. For a perfectly smooth finish, use spot putty on any gaps or seams, then finish with 400 grit.
6. Painting and weathering
Apply a base coat with spray paint or an airbrush, then build up detail with a brush. Dry brushing metallic paint on edges and adding a dark wash into recesses gives a realistic, battle-worn look. Finish with a matte or gloss clear coat to protect the paint.
7. Make it comfortable to wear
Glue in foam padding, add an adjustable strap or elastic, and fit mesh or tinted film behind the eye holes for visibility. For full helmets, a small USB fan helps a lot with heat and fogging.
Popular masks and helmets to print
- Devil Mask: a great horror and Halloween piece.
- Spawn Mask: a comic book favourite.
- Warhammer Skull Paladin Helmet: a detailed full helmet.
- MH Glavenus Helmet: inspired by Monster Hunter.
Frequently asked questions
How long does it take to 3D print a helmet?
A full-size helmet usually takes 20–60 hours of printing depending on size, layer height and printer speed, plus finishing time.
What is the best filament for cosplay masks?
PLA is the easiest to print, sand and paint. Use PETG if the mask needs to handle heat or rough use.
Can I print a helmet on a small printer?
Yes. Split the model into smaller parts in your slicer and glue them together after printing.
Start your next build: explore our masks and helmets STL files and seasonal Halloween models.